Costco Prime Rib Cooking Instructions: A Comprehensive Guide
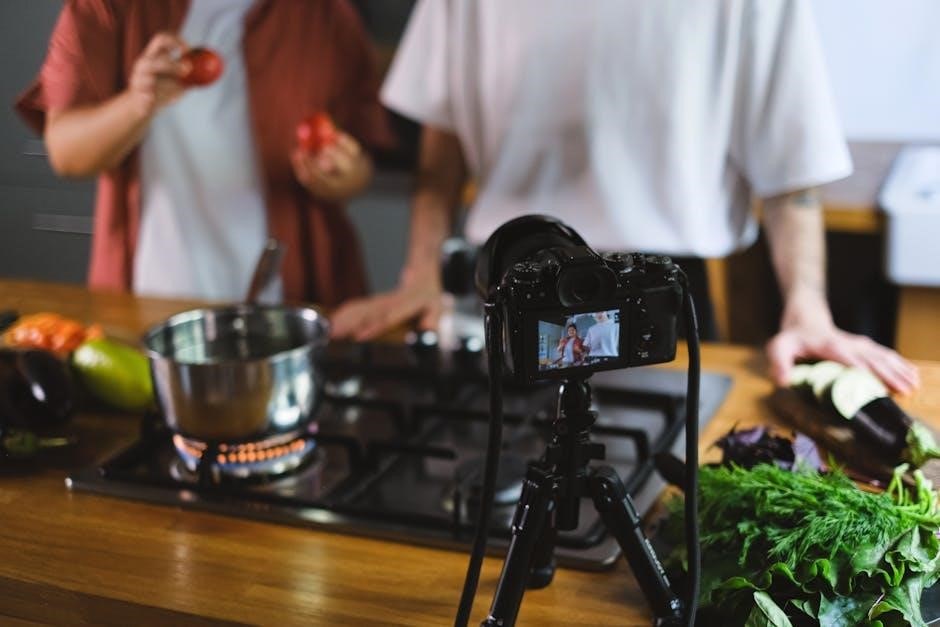
Discover the secrets to perfectly cooked Costco prime rib! This guide details traditional roasting, reverse searing, and essential tips for a tender, flavorful roast.
Understanding Costco Prime Rib
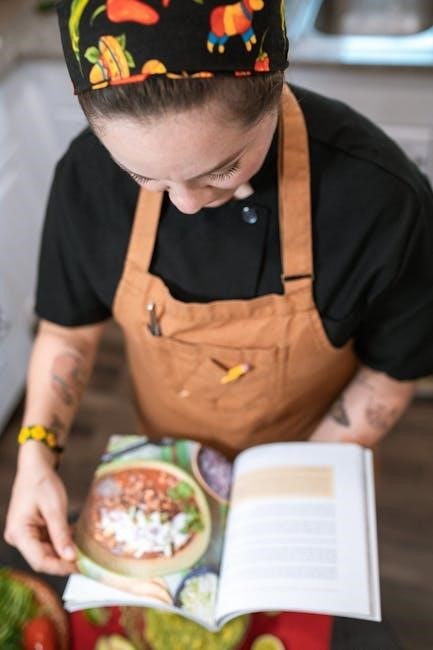
Costco’s prime rib is a fantastic value, offering a high-quality cut perfect for celebrations. Typically a standing rib roast, it’s sold with bones attached, contributing to flavor during cooking. Understanding the cut is key; prime rib comes from the rib section of the beef, known for its marbling and tenderness. Costco’s offerings generally require thawing and preparation before cooking, and their size necessitates careful planning for oven space and cooking time. Knowing this foundational information sets you up for success, ensuring a delicious and impressive meal.
Costco Prime Rib Quality and Sizing
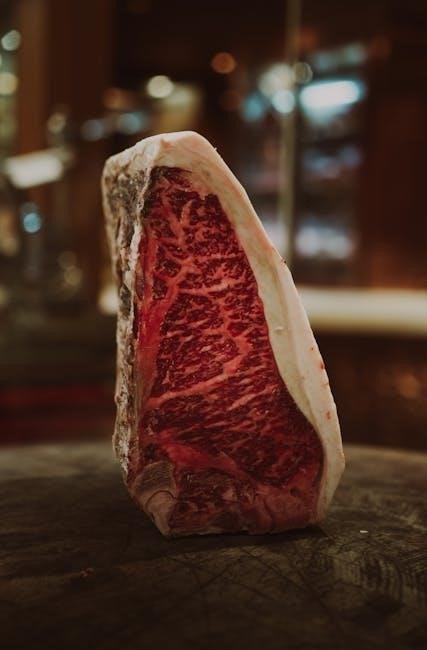
Costco consistently provides a high-quality prime rib, often graded as USDA Choice or higher, ensuring excellent marbling and tenderness. Sizing varies, but Costco typically sells prime rib roasts ranging from 8 to 16 pounds, catering to different group sizes. These substantial roasts are usually bone-in, enhancing flavor during cooking. Be mindful of oven capacity when selecting a size; larger roasts require more cooking time. Understanding the weight is crucial for accurately calculating cooking schedules and ensuring a perfectly cooked roast for your gathering.
Preparing the Prime Rib for Cooking
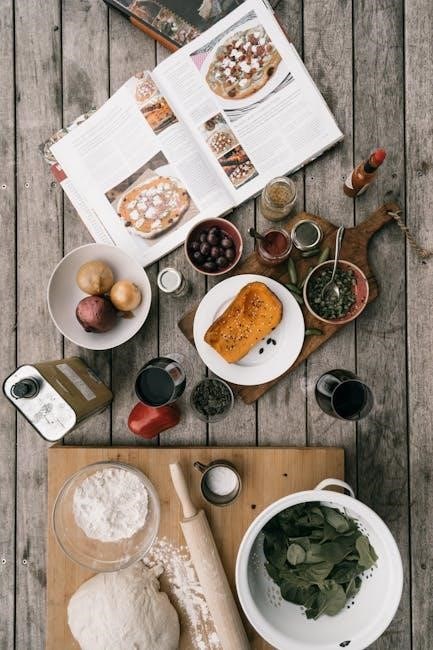
Proper preparation is key to a successful prime rib. Begin by removing the roast from its packaging and patting it dry with paper towels. This promotes a good sear. Inspect for any silver skin and trim it away, as it doesn’t render during cooking and can be tough. Next, consider your seasoning strategy – a simple salt and pepper rub works wonders, or explore more complex herb blends. Ensure the roast is at room temperature for about an hour before cooking for even cooking.
Thawing the Costco Prime Rib
Safe thawing is crucial for a large prime rib. The best method is refrigerator thawing, allowing approximately 24 hours for every 5 pounds of meat. Place the roast on a tray to catch any drips. Avoid thawing at room temperature, as this can promote bacterial growth. If you’re short on time, you can submerge the sealed roast in cold water, changing the water every 30 minutes, but refrigerator thawing is highly recommended for optimal texture and safety. Ensure the roast is fully thawed before proceeding to the next step.
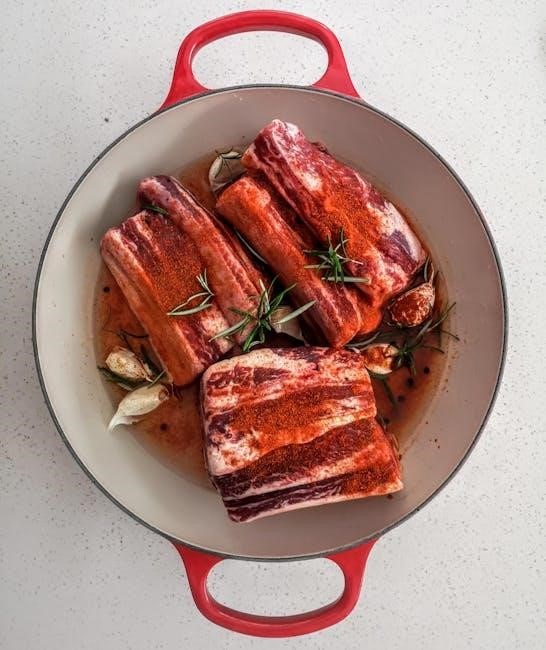
Trimming and Seasoning the Roast
Begin by trimming excess fat, leaving about ¼ inch for flavor and moisture. Pat the prime rib dry with paper towels – this aids in achieving a beautiful sear. Generously season the roast with kosher salt and freshly ground black pepper. Consider a classic herb rub, incorporating garlic powder, onion powder, rosemary, and thyme. Ensure even coverage across all surfaces. For a bolder flavor, apply the seasoning at least 24 hours before cooking, allowing it to penetrate the meat. This step is fundamental for a flavorful final product.
Traditional Oven Roasting Method
The traditional method begins with preheating your oven to 450°F (232°C). Initial searing is crucial for developing a rich, flavorful crust. Place the seasoned prime rib, bone-side down, in a roasting pan. Sear for 15-20 minutes, then reduce the oven temperature to 325°F (163°C) for slow roasting. This low and slow approach ensures even cooking and maximum tenderness. Consistent temperature monitoring is key; a meat thermometer is essential for achieving your desired level of doneness. Remember to allow for resting time after cooking.
Initial Searing for Enhanced Flavor
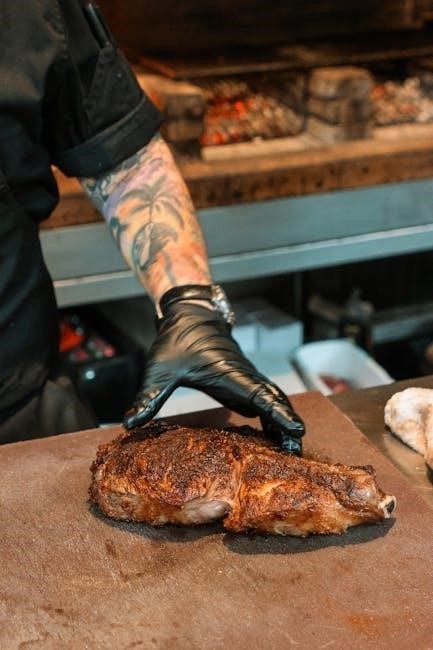
Searing the Costco prime rib at a high temperature – around 450°F (232°C) – for approximately 15 to 25 minutes is vital. This process creates a beautiful, flavorful crust through the Maillard reaction, locking in juices and adding depth to the overall taste. Ensure the roast is bone-side down during searing for optimal heat transfer. Don’t overcrowd the pan; use a large roasting pan to allow for even browning. This initial step significantly elevates the final product, delivering a more robust and satisfying prime rib experience.
Low and Slow Roasting: Temperature and Time
Following the initial sear, reduce the oven temperature to 325°F (163°C) for the crucial low and slow roasting phase. This gentle heat ensures even cooking throughout the large prime rib roast, preventing a dry exterior and undercooked interior. The roasting time varies based on weight, but generally, allow approximately 20 to 35 minutes per pound. Consistent temperature monitoring is key; avoid opening the oven frequently to maintain a stable environment. Patience during this stage yields a remarkably tender and juicy final result.

Calculating Cooking Time Based on Weight
Accurately determining cooking time is vital for prime rib success, directly correlating with the roast’s weight. A general guideline suggests approximately 13 minutes per pound at 325°F after the initial sear, but this is a starting point. Larger roasts require longer cooking times, while smaller ones need less. Always use a meat thermometer to confirm doneness, rather than relying solely on time. Remember to factor in resting time post-cooking, as the internal temperature will continue to rise. Precise calculations ensure a perfectly cooked, tender prime rib.
8-Pound Prime Rib Roast Cooking Schedule
For an 8-pound Costco prime rib, begin with a 25-minute initial sear at a higher temperature, around 400°F, to develop a flavorful crust. Subsequently, reduce the oven to 325°F and roast for approximately 1 hour and 44 minutes (8 lbs x 13 minutes/lb). Begin checking the internal temperature around the 1 hour and 30-minute mark. Aim for 122°F for medium-rare, increasing to 129°F before resting. Remember, this is an estimate; a meat thermometer is crucial for accuracy. Allow ample resting time for optimal tenderness.
Adjusting for Different Roast Weights
To adapt the cooking schedule for varying prime rib weights, maintain the initial 25-minute searing phase at 400°F. Afterwards, calculate the roasting time at 325°F using 13 minutes per pound. For a 6-pound roast, roast for approximately 78 minutes; a 10-pound roast requires around 130 minutes. Always prioritize internal temperature over time. Regularly monitor with a meat thermometer, aiming for your desired doneness. Remember to adjust cooking time slightly based on bone-in versus boneless cuts, and oven variations.
Temperature Monitoring: Essential for Success
Accurate temperature monitoring is paramount for a perfectly cooked prime rib. Invest in a reliable meat thermometer – instant-read or probe styles work well. Insert the thermometer into the thickest part of the roast, avoiding bone. Consistent monitoring prevents overcooking. Begin checking the temperature about an hour before the estimated finish time. Remember carryover cooking; the internal temperature will rise 5-10°F during resting. Precise temperature control ensures a tender, juicy, and flavorful prime rib every time, avoiding tough or overdone results.
Using a Meat Thermometer Correctly
To ensure accuracy, insert the meat thermometer into the thickest part of the prime rib, avoiding any bone contact. For probe thermometers, leave it in throughout the cooking process. Instant-read thermometers require periodic checks. Calibrate your thermometer regularly for reliable readings. Avoid opening the oven frequently, as this lowers the temperature. When checking, ensure the probe reaches the center of the roast. Consistent, correct thermometer use is crucial for achieving your desired level of doneness and a perfectly cooked Costco prime rib.
Target Internal Temperatures for Desired Doneness
For rare prime rib, aim for an internal temperature of 120-125°F. Medium-rare, the most popular choice, falls between 125-130°F. Medium doneness requires 130-140°F, while medium-well is 140-150°F. Fully cooked prime rib reaches 150°F and above. Remember these temperatures are before resting; the temperature will rise 5-10°F during resting. Use a reliable meat thermometer to verify. Achieving the correct internal temperature guarantees a tender and flavorful Costco prime rib, tailored to your preferred level of doneness.
Reverse Sear Method for Prime Rib
The reverse sear technique involves slow-roasting the prime rib at a low temperature – around 200-275°F – until it’s nearly at your desired internal temperature. This ensures even cooking throughout the roast. Afterwards, a quick, high-heat sear, typically at 400-500°F, develops a beautiful crust. Benefits include a more evenly cooked roast, a superior crust, and reduced risk of overcooking. It’s a fantastic method for larger Costco prime ribs, yielding incredibly tender and flavorful results.
Benefits of the Reverse Sear Technique
Employing the reverse sear method for your Costco prime rib unlocks several advantages. Primarily, it promotes remarkably even cooking, eliminating the grey band often found with traditional roasting. The low and slow initial phase tenderizes the meat, while the final sear creates a magnificent, flavorful crust. This technique offers greater control over doneness, minimizing the chance of a dry or overcooked roast. It’s particularly effective for larger cuts, ensuring consistent results from edge to center, delivering a truly exceptional dining experience.
Step-by-Step Reverse Sear Instructions
Begin by preheating your oven to a low temperature, around 250°F (121°C). Season the prime rib generously and place it on a wire rack set within a baking sheet. Roast until the internal temperature reaches 120-125°F (49-52°C) – this could take several hours depending on the roast’s size. Once achieved, remove from the oven and let rest briefly. Then, sear in a scorching hot skillet with oil, or under a broiler, for 2-3 minutes per side, achieving a beautiful crust.
Resting the Prime Rib: A Crucial Step
Allowing the prime rib to rest is paramount for a juicy, tender result. After cooking, tent the roast loosely with foil and let it rest for at least 30 minutes, ideally closer to an hour. This allows the juices, redistributed during cooking, to settle throughout the meat. Cutting into it prematurely will result in a dry, less flavorful roast as those precious juices will escape. Patience is key; resting ensures a superior dining experience, maximizing tenderness and flavor.
Why Resting is Important
Resting allows muscle fibers to relax after being exposed to high heat, preventing excessive juice loss when carved. During cooking, the heat forces moisture towards the center; resting redistributes this moisture evenly. Without resting, slicing immediately causes a flood of flavorful juices to spill out, resulting in a drier final product. This process is vital for a tender, succulent prime rib. Think of it as letting the meat “reabsorb” its own deliciousness, guaranteeing a more enjoyable and flavorful experience for everyone.
Optimal Resting Time
For a Costco prime rib, a resting period of at least 30 minutes is crucial, but extending it to a full hour is even better. Larger roasts, like those often found at Costco, benefit from longer rest times. Loosely tent the roast with foil to retain some heat while still allowing steam to escape. Avoid tightly wrapping it, as this can lead to a soggy exterior. Patience is key – don’t rush this step! A properly rested prime rib will be significantly more tender and flavorful, maximizing your cooking efforts.
Carving the Prime Rib
Proper carving transforms a beautifully cooked prime rib into an elegant presentation. Begin by removing the twine. Locate the grain of the meat – carving against the grain ensures maximum tenderness. Using a long, sharp knife, slice downwards, creating approximately ¼ to ½ inch thick slices. For bone-in roasts, carve individual ribeye steaks between the bones. Present the slices artfully on a platter, and consider offering a variety of sauces like horseradish cream or au jus to complement the rich flavor.
Proper Carving Techniques
Mastering prime rib carving elevates the dining experience. First, ensure a sharp carving knife – dullness leads to tearing. Identify the grain; slicing against it is crucial for tenderness. Start by separating the roast from the bone, if applicable. Then, slice downwards, maintaining consistent thickness (¼ to ½ inch). For ribeye cuts, carve between each bone. Rotate the roast as needed for optimal slicing. Present the carved meat attractively, fanning out slices or arranging them in a visually appealing manner for a stunning centerpiece.
Serving Suggestions
Elevate your Costco prime rib with complementary sides! Classic pairings include Yorkshire pudding, roasted potatoes, and creamed spinach. A vibrant horseradish sauce cuts through the richness beautifully, while a red wine reduction adds sophistication. Consider a fresh green salad with a light vinaigrette to balance the meal. Don’t forget dinner rolls for soaking up the delicious juices. For a complete feast, offer a selection of seasonal vegetables. A bold Cabernet Sauvignon or Merlot perfectly complements the prime rib’s robust flavor.
Costco Prime Rib: Common Mistakes to Avoid
Prevent prime rib pitfalls! A frequent error is insufficient thawing, leading to uneven cooking. Overcooking results in a tough roast; rely on a meat thermometer. Skipping the resting period causes juices to escape, diminishing tenderness. Failing to properly trim excess fat impacts flavor and rendering. Under-seasoning leaves the roast bland. Avoid high initial heat for too long, potentially burning the exterior. Ignoring internal temperature guidelines is a critical mistake. Finally, carving against the grain is essential for optimal tenderness.
Seasoning Variations for Costco Prime Rib
Elevate your prime rib beyond basic salt and pepper! A Classic Herb Rub combines rosemary, thyme, garlic powder, and black pepper for aromatic flavor; For a bolder taste, try a Garlic and Pepper Crust – generously coat the roast with minced garlic, cracked black pepper, and a touch of olive oil; Experiment with smoked paprika for a smoky depth, or add a hint of cayenne for subtle heat. Don’t be afraid to incorporate Dijon mustard as a base for your rub, enhancing both flavor and crust formation.
Classic Herb Rub
Craft a timeless flavor profile with this classic herb rub. Begin with 2 tablespoons of fresh rosemary, finely chopped, and 1 tablespoon of fresh thyme leaves. Add 1 tablespoon of garlic powder, 1 tablespoon of onion powder, and 2 teaspoons of freshly cracked black pepper. For a subtle savory note, incorporate 1 teaspoon of dried sage. Combine all ingredients thoroughly. Generously rub the mixture all over the Costco prime rib, ensuring even coverage. Allow the seasoned roast to rest at room temperature for at least an hour before cooking, allowing the flavors to meld.
Garlic and Pepper Crust
Elevate your prime rib with a bold garlic and pepper crust. Start with 4 tablespoons of coarsely ground black pepper – a mix of black, white, and pink peppercorns is ideal. Mince 6-8 cloves of garlic and combine with the pepper. Add 2 tablespoons of kosher salt and 1 tablespoon of dried parsley. Mix in 1 teaspoon of garlic powder for intensified flavor. Press this mixture firmly onto all surfaces of the Costco prime rib, creating a substantial crust. Let the seasoned roast sit, refrigerated, for a minimum of 4 hours, or preferably overnight, for maximum impact.
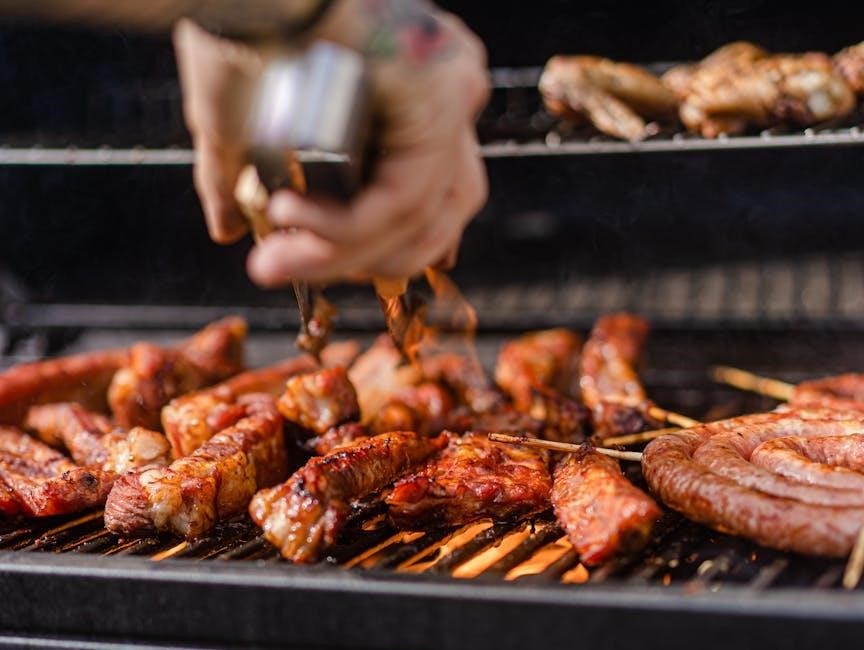
Alternative Cooking Methods
Beyond traditional roasting, explore alternative methods for your Costco prime rib. Smoking imparts a rich, smoky flavor – aim for 20-25 minutes per pound, removing the roast when 3-5 degrees below your target temperature. Slow cooking in a smoker, maintaining a consistent 225-250°F, yields incredibly tender results. Consider a water pan to maintain humidity. For a unique twist, try a combination approach: reverse sear followed by a brief smoke. These methods require monitoring and adjustments based on your equipment, but deliver exceptional flavor profiles.
Smoking a Costco Prime Rib
To smoke a Costco prime rib, prepare your smoker to maintain a temperature of 225-250°F. Utilize wood chips like hickory or oak for a classic smoky flavor. Smoke the roast for approximately 20 to 25 minutes per pound, ensuring consistent heat. Monitor the internal temperature closely, removing the prime rib when it reaches 3 to 5 degrees below your desired doneness. A water pan helps maintain humidity during the smoking process, preventing the roast from drying out. This method delivers a deeply flavorful and tender result.
Slow Cooking in a Smoker
For exceptionally tender prime rib, consider slow cooking in a smoker. Maintain a consistent smoker temperature between 225°F and 275°F, utilizing wood like pecan or apple for subtle flavor. The extended cooking time, typically 6-8 hours depending on the roast’s weight, breaks down tough fibers. Regularly monitor the internal temperature, aiming for 125-130°F for medium-rare. Wrapping the roast in butcher paper after a few hours helps retain moisture. This method yields incredibly juicy and flavorful prime rib, perfect for special occasions.
Troubleshooting Common Issues
Encountering problems with your Costco prime rib? A tough roast often results from under-seasoning or insufficient resting time. Ensure generous seasoning and allow ample resting – at least 30 minutes. Overcooked prime rib is usually due to inaccurate temperature monitoring or excessive cooking time. Utilize a reliable meat thermometer and remove the roast when it reaches 5 degrees below your target temperature. If the exterior browns too quickly, tent it loosely with foil. Addressing these issues guarantees a succulent, perfectly cooked prime rib.
Prime Rib is Tough
A tough Costco prime rib often stems from inadequate seasoning before cooking, failing to allow sufficient time for the meat to tenderize. Insufficient resting is a major culprit; resting allows the juices to redistribute, resulting in a more tender cut. Under-cooking can also contribute to toughness, though less common. Ensure proper internal temperature is reached. Finally, slicing against the grain is crucial. Correcting these factors will transform a potentially tough roast into a melt-in-your-mouth experience, maximizing your Costco purchase.
Prime Rib is Overcooked
An overcooked Costco prime rib loses its signature tenderness and juiciness, becoming dry and less flavorful. This frequently happens due to inaccurate oven temperature or relying solely on time instead of a reliable meat thermometer. Removing the roast too late, even slightly past the desired internal temperature, can quickly lead to overcooking. Remember to pull the prime rib 3-5 degrees before your target temperature, as carryover cooking will continue to raise it during resting. Prevention is key – consistent monitoring is vital!
Costco Prime Rib Recipe Summary
To recap, achieving a delicious Costco prime rib involves careful preparation and precise cooking. Begin by thawing, trimming, and generously seasoning the roast. For traditional roasting, sear at high heat, then reduce to 325°F, cooking approximately 13-15 minutes per pound. Alternatively, the reverse sear method offers exceptional results. Crucially, utilize a meat thermometer to reach your desired internal temperature – 125-130°F for medium-rare. Always rest the roast for at least 20-30 minutes before carving, ensuring maximum juiciness and flavor!
Storing Leftover Prime Rib
Proper storage ensures your leftover Costco prime rib remains flavorful. Cool the roast completely, then tightly wrap it in plastic wrap, followed by aluminum foil, or place it in an airtight container. Refrigerate for up to 3-4 days. For longer storage, freeze for 2-3 months. Reheating options include gently warming slices in a low oven (250°F) with a little beef broth, or quickly reheating individual portions in a microwave. Avoid overcooking to maintain tenderness and juiciness!
Reheating Options
Reheating leftover prime rib requires a gentle touch to preserve its tenderness. For larger portions, a low oven (250°F) with a splash of beef broth is ideal; cover with foil to prevent drying. Individual slices benefit from quick microwave reheating, but use short bursts to avoid toughness. Another option is warming the slices in a skillet with a little fat. Regardless of the method, aim for an internal temperature of around 130-135°F to enjoy the prime rib’s full flavor and texture.